Saturday, 15 November 2014

Beach Shack Renovation One

Granddad's brother and brother-in-law have had beach shacks for probably as long as Mum can remember.
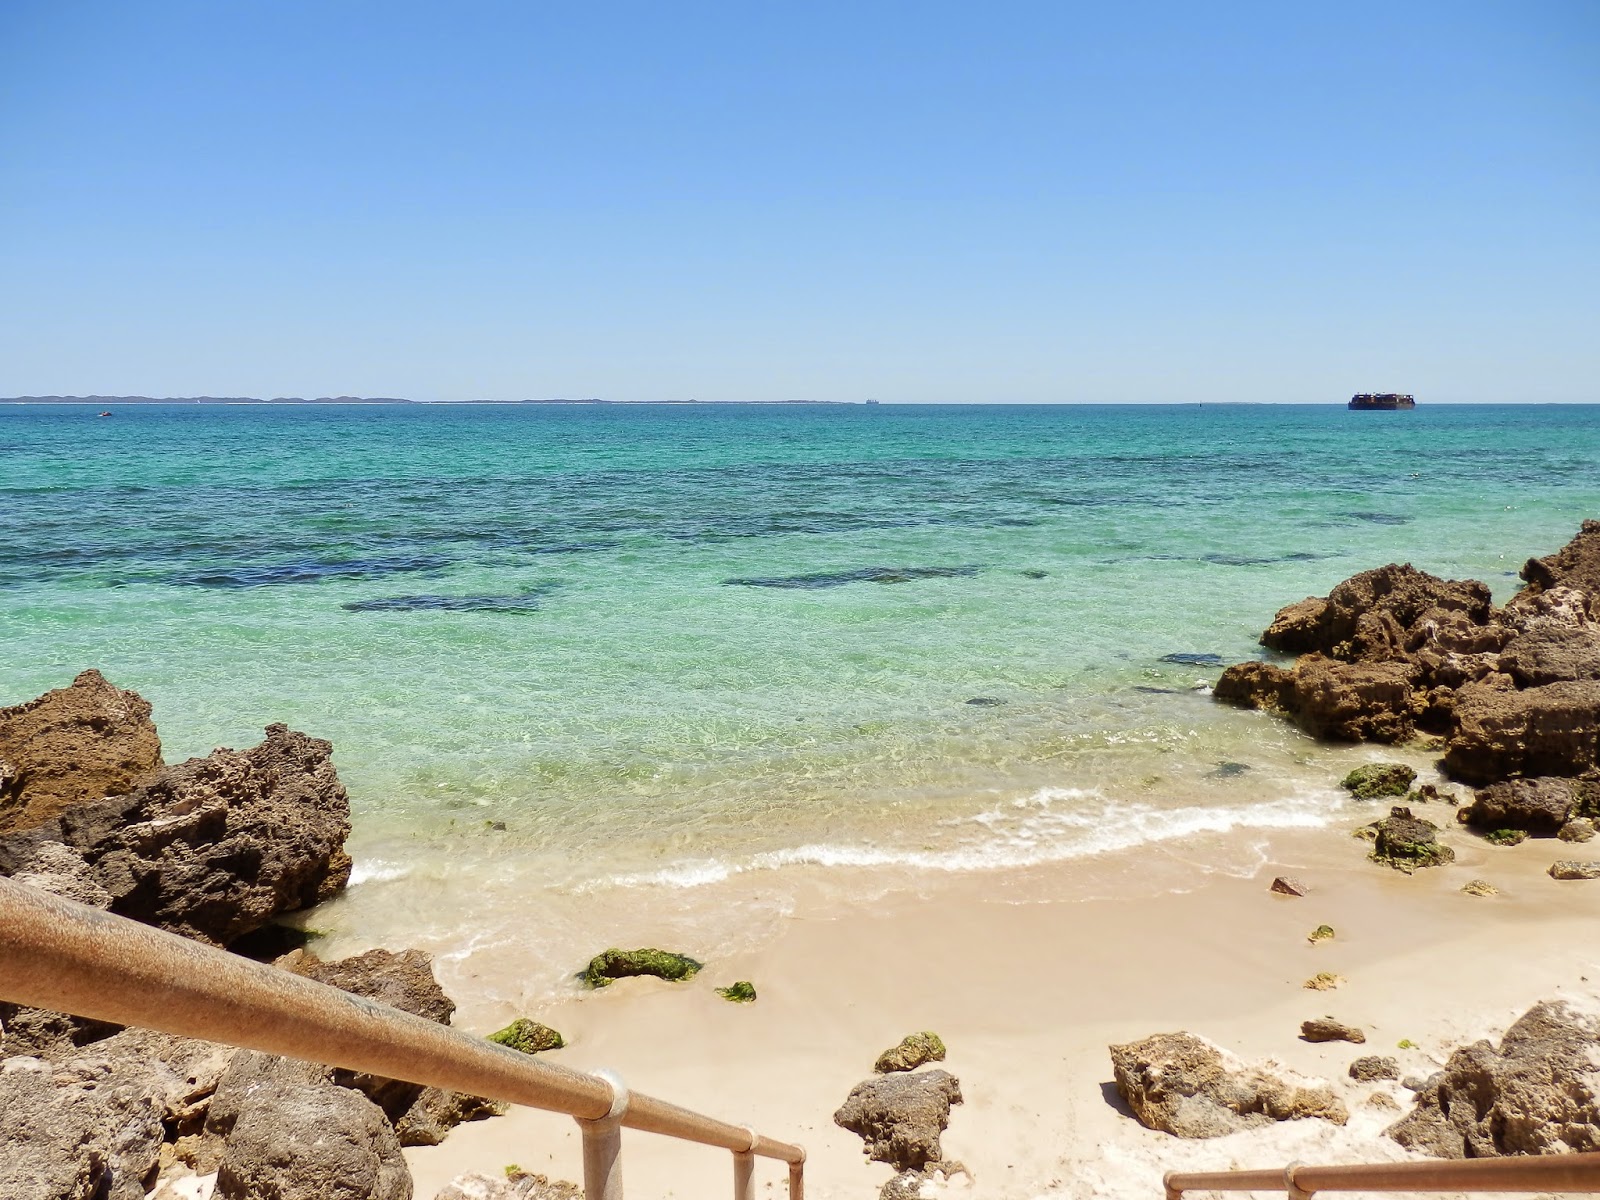
Not so long ago, Granddad got himself one, the one right between the other two.


Now there are three in a row.
Uncle Ray's (now his son's)
Granddad's (now his daughters')
Uncle Tony's


It's a lovely place... almost on the beach, a bright little cabin and porch surrounded by grass.
It is off the grid, with no electricity and no connected water.

But you're on the beach (virtually your own private beach) with your own patch of shade, own patch of grass, own little kitchen with endless supplied of hot water for tea and cold water from the fridge.


Though when Mum and my aunt inherited it they decided it did need a bit of a spruce up.
The paint job was notably faded and still just a little bright.


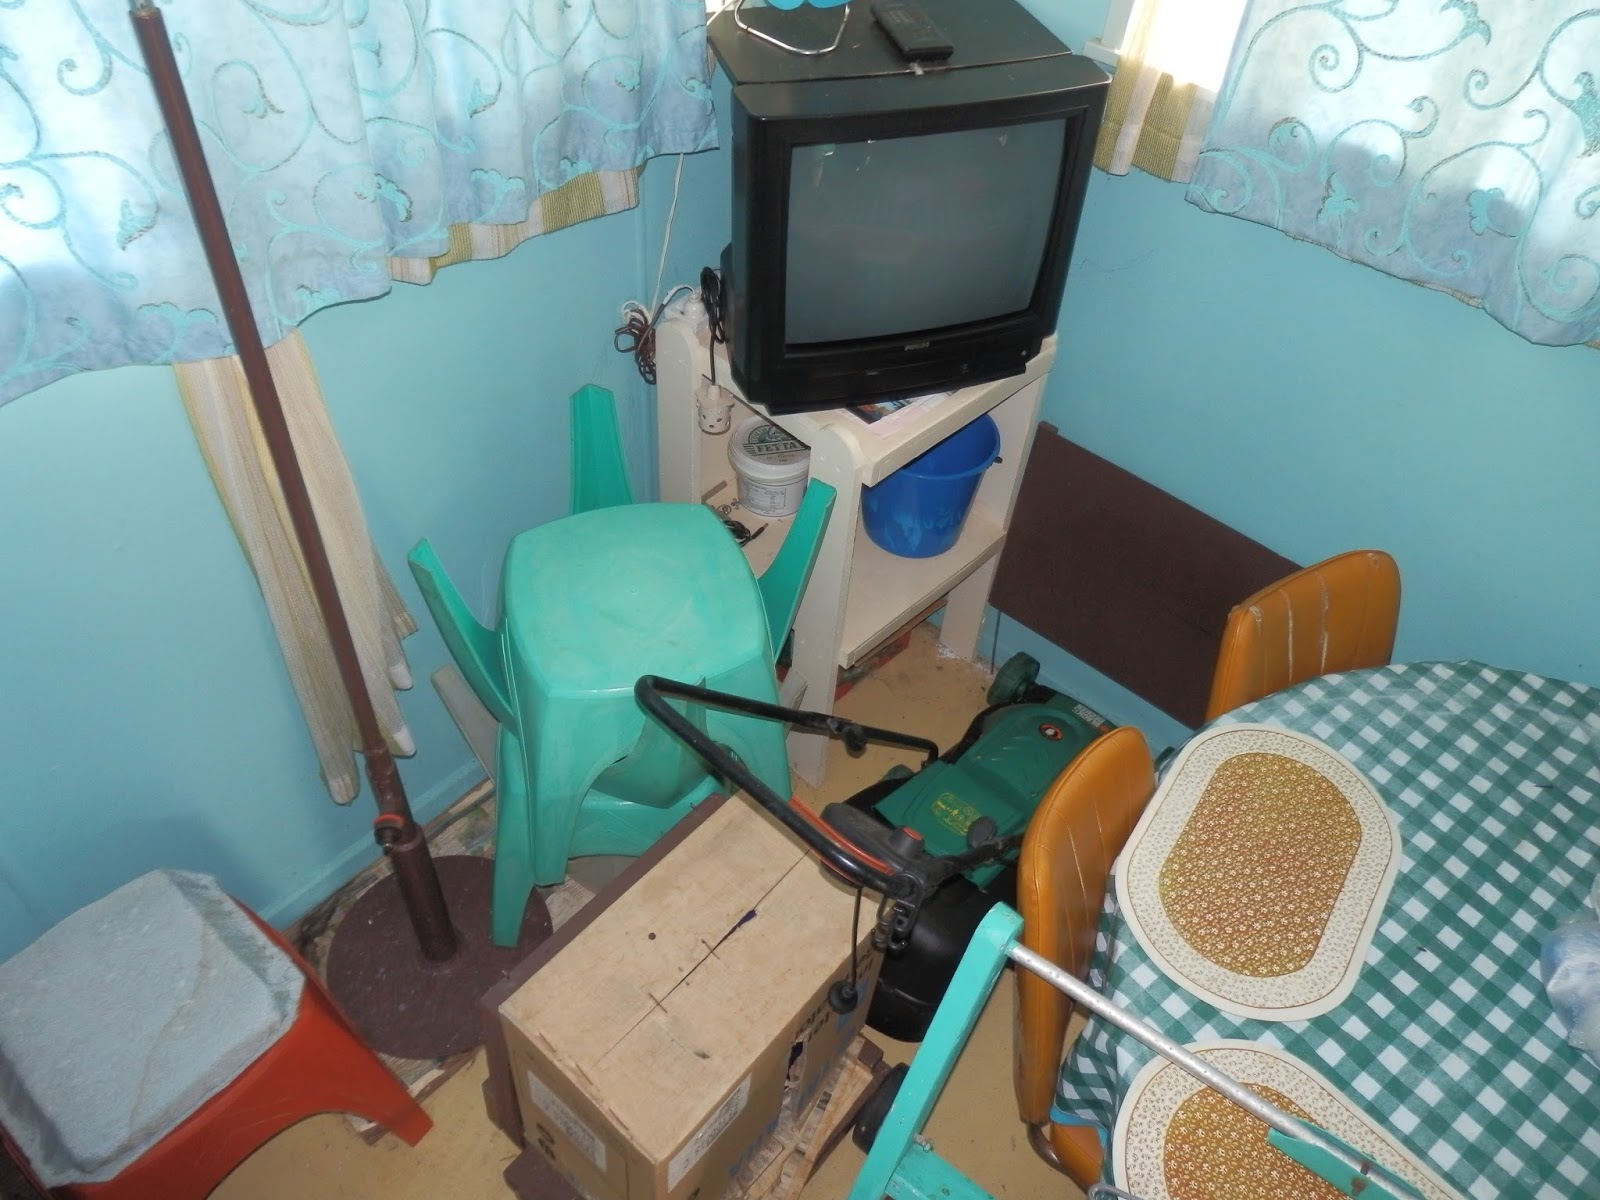
And Granddad was a hoarder. Everything that he might possibly need was there, some things in an obvious state of disrepair or so old they were no longer useful. 

We found tins of dried paint, metres of hose repaired and joined together even though the central tap has its own permanent hose attached. An unopened gas bottle, possibly dating to 1995. 


There were three tables, one of which was never used and being circular, just ate up space. 


Not surprisingly, we found 4 BBQs/stove tops within the shack, despite there being a big wood fire BBQ just outside. 
An unwieldy corner kitchen unit that never got used. (note the stove to the left, the black weber to the right and the blue primus on top of the cabinet).


The kitchenette unit (below), dating to when Granddad had married in 1954 was full of useful cutlery and crockery, but also 'non-perishables' that hadn't been touched in five years.

Granddad had previously spent weekends down there with his partner and so they had suitable food stuffs for breakfast, coffee, morning tea... However more recently we would only ever pop down for the day. As a result we'd take our own tea and coffee and the fridge would never be turned on to chill the soft drinks waiting in the bottom of the cupboard.


Of the two bedrooms, one was the main, the other had the most uncomfortable foam mattresses.
Not that we were really allowed to stay over. Granddad had some funny rules and as he held the keys (and wouldn't let others have copies) we fell in with his demands.


This meant we only visited sporadically for a morning swim and lunch, and lived out on the patio.
The curtains and windows were not opened, the beds remained unused.
At most we used the rooms to change in and out of our bathers and the stove to heat water for doing the dishes from lunch.
With the discovery of damp towels in a drawer and out dated produce in the kitchenette it was no surprise that the whole place had acquired a stale feel to it.

With such potential, it was almost a relief when we were able to get our hands on it properly.


Beach Shack Renovation Two
Beach Shack Renovation Three
Beach Shack Renovation Four

Thursday, 6 November 2014

With Fresh Eyes

My grandfather had two Federation houses, mirror images of each other, one in which he lived and the other as an investment property.

Samson House, Fremantle (Not Granddad's)

The first he bought in 1962 for his small family and before long set about fixing it up. The second he bought later and as it was just an investment property he did not bother modernising it, just updating it so it was rentable.

In the early sixties fixing up an old Federation house mean modernising it.
  • Streamlining the face of the interior doors, 
  • Removing (and burning) the Jarrah mantlepieces, 
  • Replacing the tall sash windows with squat ones
  • Knocking out the fireplaces and removing the chimneys
  • Covering over the red brick facade with a rough white monstrosity. 
  • Removing the front door and glass surrounds and bricking it up to fit a narrower, safer door. 
  • Removing the decorative skirting boards and architraves that collected dust in each and every grove.
The new architraves viewed through a doorway with the old architraves still in tact. 
Granddad did all of this, but it wasn't just renovation; he also improved the house so that it was habitable.When he moved in, the house was in such a terrible condition that the front door was without a lock.

The kitchen walls were a dark brown particularly unsuited to the already dark style of a Federation house. It wasn't until he began preparing the walls to repaint that he noticed that the dark brown colour cleaned off the walls revealing a lighter creamier paint underneath. It had been a build up of grime over the years.
And in the bathroom, once located on the verandah but eventually closed in so it became part of the interior of the house, the bath tub rocked on its bottom, the claw feet having gone through the rotting Jarrah floorboards.

Hints of its past glory as still scattered throughout.

In the lounge room, the long sash window still exists, overlooking the brick wall of the neighbour's house, its age and beautiful architraves overshadowed by the axminister carpet Granddad had laid.


In this room and one of the bedrooms the skirting boards still retain their undulating form, mirrored around a door way by the short fat version with which we are more familiar to this day.

The doors were all recut from sliding doors, the only things big enough to fit the older, wider measurements, except that is, for the bathroom, where the inside still features the moulding that would have been seen throughout the house.


In the middle of the hall way an archway still stands, the columns still decorative and the keystone decorated with a carved bunch of lovely flowers.


    In the lounge room the cornice winds around the chimney, wider and more ornate than seen in modern houses. In Granddad's house it remains white shaded by its own height, though I have seen the various bands painted in graduated shades of grey or pink, tying in with colour of the walls. 


    In the centre of these bands in the ceiling rose, the last of its kind supporting a thoroughly retro light shade.


    In the process of our renovations, undertaken after my Grandfather's death, the carpets were lifted, revealing the Jarrah floorboards that run the length of the hallway and floor the four rooms at the front of the house. 


    Knowing what it could have looked like, the historian in me weeps at how much historical beauty was discarded for the sake of modernity. How the pieces removed were viewed as waste products, wood worthy only of burning in the fireplace before that too was dismantled.

    It has only been recently that I have started to focus on the beauty that still remains. Tradies and services come in to provide quotes as part of the current renovation efforts and each and every one marvels at the house. They gasp at how much detail does remain. 

    And noting the pattern you come to realise that there is still enough beauty and history in this old house to acknowledge, should you chose to enhance those remaining features. 

    Halliday House

    Friday, 24 October 2014

    Dissecting Documents

    Starting a new life halfway around the world, in a time before the internet and digital files, you would have had to make sure you took all the necessary documents with you; Job references, proof of education, proof of identity, birth certificates, death certificates...

    Many of these documents were indeed brought out by my grandfather. There are wads of job references, not just for himself but surprisingly, also for his late father. Documents documenting his mother's places of residence since her marriage to Joseph. Certificates of education, later translated from the original French into English in my grandfather's florid hand.

    Documents that don't appear as yet to have made it to Fremantle include my Grandfather's birth certificate.

    Another set of documents that did make it though, neatly bundled together, was the marriage certificate of his parents Joseph Armarego and Assunta Morello,


    also, the death certificate of Joseph Armarego.


    and a couple of documents that identify Assunta as the sole executor and beneficiary of her husband's estate.


    This in itself seems a little strange. Why were these documents seemingly more valuable that they were brought to Australia but copies of the boys' birth certificates were not?

    The answer is actually present in an accompanying letter, written by Assunta's son Oswald to the Department of Social Services.


    Being a British subject by birth herself and widow of a British subject by birth, Assunta was eligible for a Widow's Pension, not just in the British colony of Alexandria, but also once they landed in Australia.

    This collection of documents was necessary to prove her eligibility with the Australian Department of Social Services.


    I don't know whether her application was successful, I never knew the circumstances at a time when I could ask.
    I would assume she did, not only because they seem to have been a determined family (see the correspondence of the journey out), but because I've only heard stories of my grandfather supporting her financially for the first few years after their arrival here. It was this  later fact that stopped Oswald and Violet from marrying the moment Oswald arrived, but were instead forced to wait a few years. 

    Thursday, 23 October 2014

    Writing Away - Yallingup

    Writing a novel, in fact doing writing of any kind becomes exceedingly difficult when there is the internet within your grasp. Particularly when it brings with it the opportunity to continually learn.
    So when Claire offered an opportunity to accompany her on a weekend retreat to Yallingup I jumped at the offer.


    Saturday, 11 October 2014

    Constructing a Croquembouche


    Having made a Croquembouche years ago from my neighbour's engagement party, her mother decided that for a high tea she would like a demonstration of the process in order to impress the ladies invited.

    Recovering from the initial shock, (the last time I'd made such a monstrosity was approximately five years ago) and requesting time for a trial run (my cousin's christening cake) before making a decision, I agreed to the challenge and set about preparing. Ingredients needed buying, components preping, nerves steeling.

    Demonstrating it in front of a last group was not the problem. What I didn't want to happen was for the croquembouche to fall apart on the day.

    It had happened to the one made for my sister's 21st and while we knew why, I was only 99.9% sure that was the reason.

    On the day my neighbour's youngest (a talented baker in her own right) helped with the construction as it is a process that requires speed and attention to detail and the hands of the Hindu goddess Durga.


    A croquembouche comprises of three separate components.
    • Profiteroles. If making your own you will need to make a double batch of the recipe below. However because I started making croquembouches before I started making profiteroles and because you need the profiteroles to be completely dry and sturdy I use small shop bought ones. I find my home made ones are currently too delicate and often contain uncooked dough even when baked for them to be reliable enough. The shop bought ones can be difficult to find but check the section with the vol-au-vent cases. The image on the right is what you'll be looking for. 
    • Custard. You can fill the profiteroles with whatever you want: whipped cream, chocolate mousse... I use an orange sour cream custard. In order to fill 40 profiteroles you will need about 6 cups of custard. This would be a triple batch of the recipe below. In order for the profiteroles to stay hard for longer and therefore make it easier to construct the croquembouche, make the custard the night before in order that it can cool thoroughly. 
    • Toffee. A single batch of the recipe below will be more than enough. This is easiest to make with a sugar thermometer to accurately measure when the sugar reaches the hard crack stage. 

    Profiteroles (makes 20)
    1/2 cup (125ml) water
    60g butter, chopped finely
    1 tablespoon caster sugar
    1/2 cup (75g) baker's flour
    3 eggs
    1 tablespoon icing sugar
    • Preheat the oven to 220C. Grease oven trays (I use baking paper) 
    • Combine the water, butter and caster sugar in a medium saucepan; bring to the boil. (the butter is finely chopped so it melts quickly before the water evaporates. 
    • Add flour; beat with a wooden spoon over medium heat until the mixture comes away from the base of the saucepan and forms a single ball 
    • Transfer pastry to a medium bowl; with a wooden spoon beat in two of the eggs, one at a time. 
    • Whisk the remaining egg with a fork; beat enough of the egg into the pastry until it becomes smooth and glossy but still holds its shape. It should gently fold over itself when the spoon is removed. 
    • Drop level tablespoons of the pastry, about 5 cm apart onto trays. (you can use a piping bag but two spoons works just as well). 
    • Bake puffs for 10 minutes. Reduce oven temperature to 180C; bake 15 minutes 
    • Cut a small opening into the base of each puff; bake a further 10 minutes or until the puffs are dry 
    • Cool on trays.
    *for the croquembouche the profiteroles need to be very dry.


    Orange Custard (makes about 2 cups)
    This custard needs to be cold when used to fill the profiteroles, so make it the day before.


    2 tablespoons custard powder
    1/4 cup sugar
    1 1/2 cup orange juice
    1/4 cup sour cream
    1 tablespoon Cointreau
    1 teaspoon grated orange rind (optional)
    • Combine the custard powder and sugar in a saucepan; gradually stir in the orange juice. 
    • Heat the mixture and constantly stir until the mixture boils and thickens. (It needs to be a little more solid than pouring custard for the profiteroles) 
    • Stir in the sour cream and liqueur and mix well to remove any sour cream lumps. 
    • Serve hot, or allow to cool completely for the profiteroles. 


    Toffee
    2 1/2 cups white sugar
    water to moisten sugar (about 1/4 cup)
    • In a medium saucepan, pour sugar and wet with a small amount of water. 
    • Over medium heat, let the sugar warm, and begin to dissolve. Allow sugar and water to gently boil until the sugar begins to change colour. During this time, brush the inner sides of the pot with a pastry brush dipped in cold water to prevent any build-up of sugar crystals. 
    • Do not stir the sugar but if necessary swirl the saucepan to mix developing sugar crystals under or mix the colour changes throughout the pot. 
    • As soon as the sugar begins to change colour (this is 'hard crack' stage and occurs at 300-310 F (I use a sugar thermometer)), remove from stove and place on a heatproof surface (an oven mitt can be used) near your work area. 

    Croquembouche
    1. Make the custard the day before. 
    2. Make the profiteroles and allow to cool and dry completely (alternatively, use shop bought ones). 
    3. Put aside three profiteroles. Pierce a hole in the side of each of the remaining profiteroles. The hole needs to be large enough for the nozzle of the piping bag but not too large).
    4. Chose your platter and work out where the bottom ring of profiteroles are going to be placed. Once they are stuck down with the sugar they can not be moved.
    5. Prepare the toffee (see the recipe above) 
    6. This step needs to be done in tandem, one person doing the custard, the other using the toffee so that the profiteroles don't have a chance to soften with the custard before they are glued down. Fill a piping bag with the cold custard and start filling the profiteroles one at a time.
    7. The moment a profiterole is filled, dip its bottom into the saucepan of toffee and glue it in place on the platter.


    8. You want to place the hole facing in to the centre of the circle. You may have to hold it in place for a few seconds until it sets. 
    9. Continue to complete the first ring of profiteroles.
    10. Start building up, remembering to come in slightly with each level so that it tapers in to form a pyramid.


    11. As you get to the last few profiteroles, return to the three you put aside. Determine where to place the hole so that it will be hidden when on the pyramid (this may require placing it in the bottom of the profiterole). Fill and glue as before.
    12. If the toffee starts to harden you may need to re-melt it. Be careful as each time you reheat it it will darken in colour and taste. 
    13. Once the pyramid structure is complete, dip a whisk or fork in the remaining caramel. In a circular motion, trail threads of caramel over the top and down the sides of the croquembouche.
    14. Decorate with edible flowers and ribbons as you're spinning the toffee on to the croquembouche. (Use the toffee to glue the decorations in place). 


    Wednesday, 8 October 2014

    Baby Bloomers

    So my cousin has had a kid. A bouncing baby boy.
    And this, combined with my latest hobby of sewing up a storm resulted in the decision to attempt to make him something. A decision made some time ago, I'll admit.
    I was going to make a fluffy onesie but time or lack of confidence or other projects or something ran away with me.

    So instead, with summer coming I've changed plans and decided on a pair of suspender rompers (or barboteuse as my mother keeps calling them).
    Having raided the clearance pile at Spotlight I found some gorgeous fabric; bold, bright and referencing his Mexican and Australian heritage (sorry Germany).


    Using an old pattern, the dimensions of his chubby little legs as a guide and some old supplies stashed away, I set about making a very adorable set of bloomers.


    Lets just hope he doesn't grow out of them too soon...

    Related Posts Plugin for WordPress, Blogger...